Wednesday 14 December 2011

Time for a break...

Hello everybody!
I was hoping to avoid this situation but the studio, a large purchase (to be announced, I hope) and a crazy personal life is forcing me to take a short break from this blog. I expect to be back in the new year with the rest of the console, a resolution to the EMT140, and something new. I just don't have enough time in the day to keep you all as updated as I would like.
Thank you for reading so far and I'll catch you on the flipside of the new year!

Here's a little preview to tide you all over... Oh! And don't drink too much warm milk while I'm gone like snuffy did.

Sunday 11 December 2011

In NYC!

Hey all! So it seems that there will be no post today! I am currently in New York city to check out a piece of gear. I will give you all a huge post on Thursday to make up for this one!

Thursday 8 December 2011

Studer 903A Restoration: Master Section Pt. 2

Some thoughts on my way home tonight...
Life takes interesting turns, doesn't it? 4 years ago, I would never have believed that I would be where I am now. It can be a real eye-opener to look back at the things that you didn't have before, the things that are no longer yours, and the things you may lose or gain in the future. Although it can be exciting, depressing, or just different, it is always scary.

This studio project has represented a lot in my life. It is truly amazing to have a real love for something and I have found incredible freedom in saying 'fuck it' and throwing myself out there in the face of failure. I highly recommend it. Although I have a great deal of hope that this work-intensive project will be successful, I feel solace in the fact that I can only try my best and what happens, happens.
Sometimes, you just have to trust yourself. 

Part 2! Did I mention there are 3 parts? There are 3 parts. This is the 2nd part... of 3.


This module is the main monitor section for the console. It allows you to select from a number of monitor sources as well as control monitor pan, monitor volume, mono, etc. The monitor selectors control relays on circuit boards under the desk (see the dreaded eurocard section).
Sources you may monitor:
∑ 1+2
∑ MONO
GROUP 1+2
GROUP 3+4
GROUP 5+6
GROUP 7+8
EXT 1
EXT 2
EXT 3
EXT 4
AUX 1
AUX 2
AUX 3
AUX 4
PFL/SOLO

Monday 5 December 2011

EMT140 - Breaking A Tension Clip

It has been quite a weekend! I have been really pushing to get this plate done, so here is a plate-related video for you all. Only 26 days until the deadline is here and there is still so much to do!

Last week, I invited Tara and Ken over to help me tension the plate reverb. For those of you who aren't familiar with the goal of tensioning a plate, it is generally said that the tighter and more evenly a plate is tensioned, the better the sound (generally speaking). Today, my video tackles the question of "how tight can we tension this damn thing?"

The main obstacle when tightening the plate is that, at a certain tension, the clips that hold the plate to the frame begin to break. You must then replace the broken clip and re-tighten it. The method that we used to determine the maximum tension that the clips could handle was to measure the torque on the nut that it took to break a clip. We would then replace that clip and tighten all 8 bolts to a torque just before this 'breaking-threshold'.

We did this test using a 4" wrench and a fish-scale. By pulling perpendicularly on the wrench, we were able to measure the amount of force on the bolt it took to break a clip at 4". If the meter made it to 5 lbs of force at 4" when the clip broke, our maximum torque was 15 ft-lbs. In our experiment, 15 ft-lbs was the magic number that broke this specific clip.


Sorry we missed the big moment! :(
I should point out that we later found a problem with this method. Although 15ft-lbs was acceptable as a baseline maximum, we found that we couldn't rely on that number. I will explain in the next EMT 140 post... Have a great Monday!

Thursday 1 December 2011

Studer 903A Restoration: Master Section Pt. 1


Look at that dirt around the knobs... yuck!
Good morning everyone! Going a bit crazy lately. I have been working on the plate everyday this week and I still haven't solved a specific problem that I am having. It has been quite frustrating.

So, let's get to some of the master section of the console! Today we'll be looking at the master send module. Its functions are pretty straight forward. 4 master level controls for the 4 sends along with a highpass filter, a pfl, a mute, and a talkback button. How much could there possibly be in this thing??


Monday 28 November 2011

The Ghost of the EMT 140

And just like that, we have only a month until the 2011 deadline for the studio to open. I can't believe that I have already had my space for a month! Although it has flown by, I have got so much done there compared to what I would have done at home. There is something to be said for some isolation from the rest of the world when you are trying to get something finished.
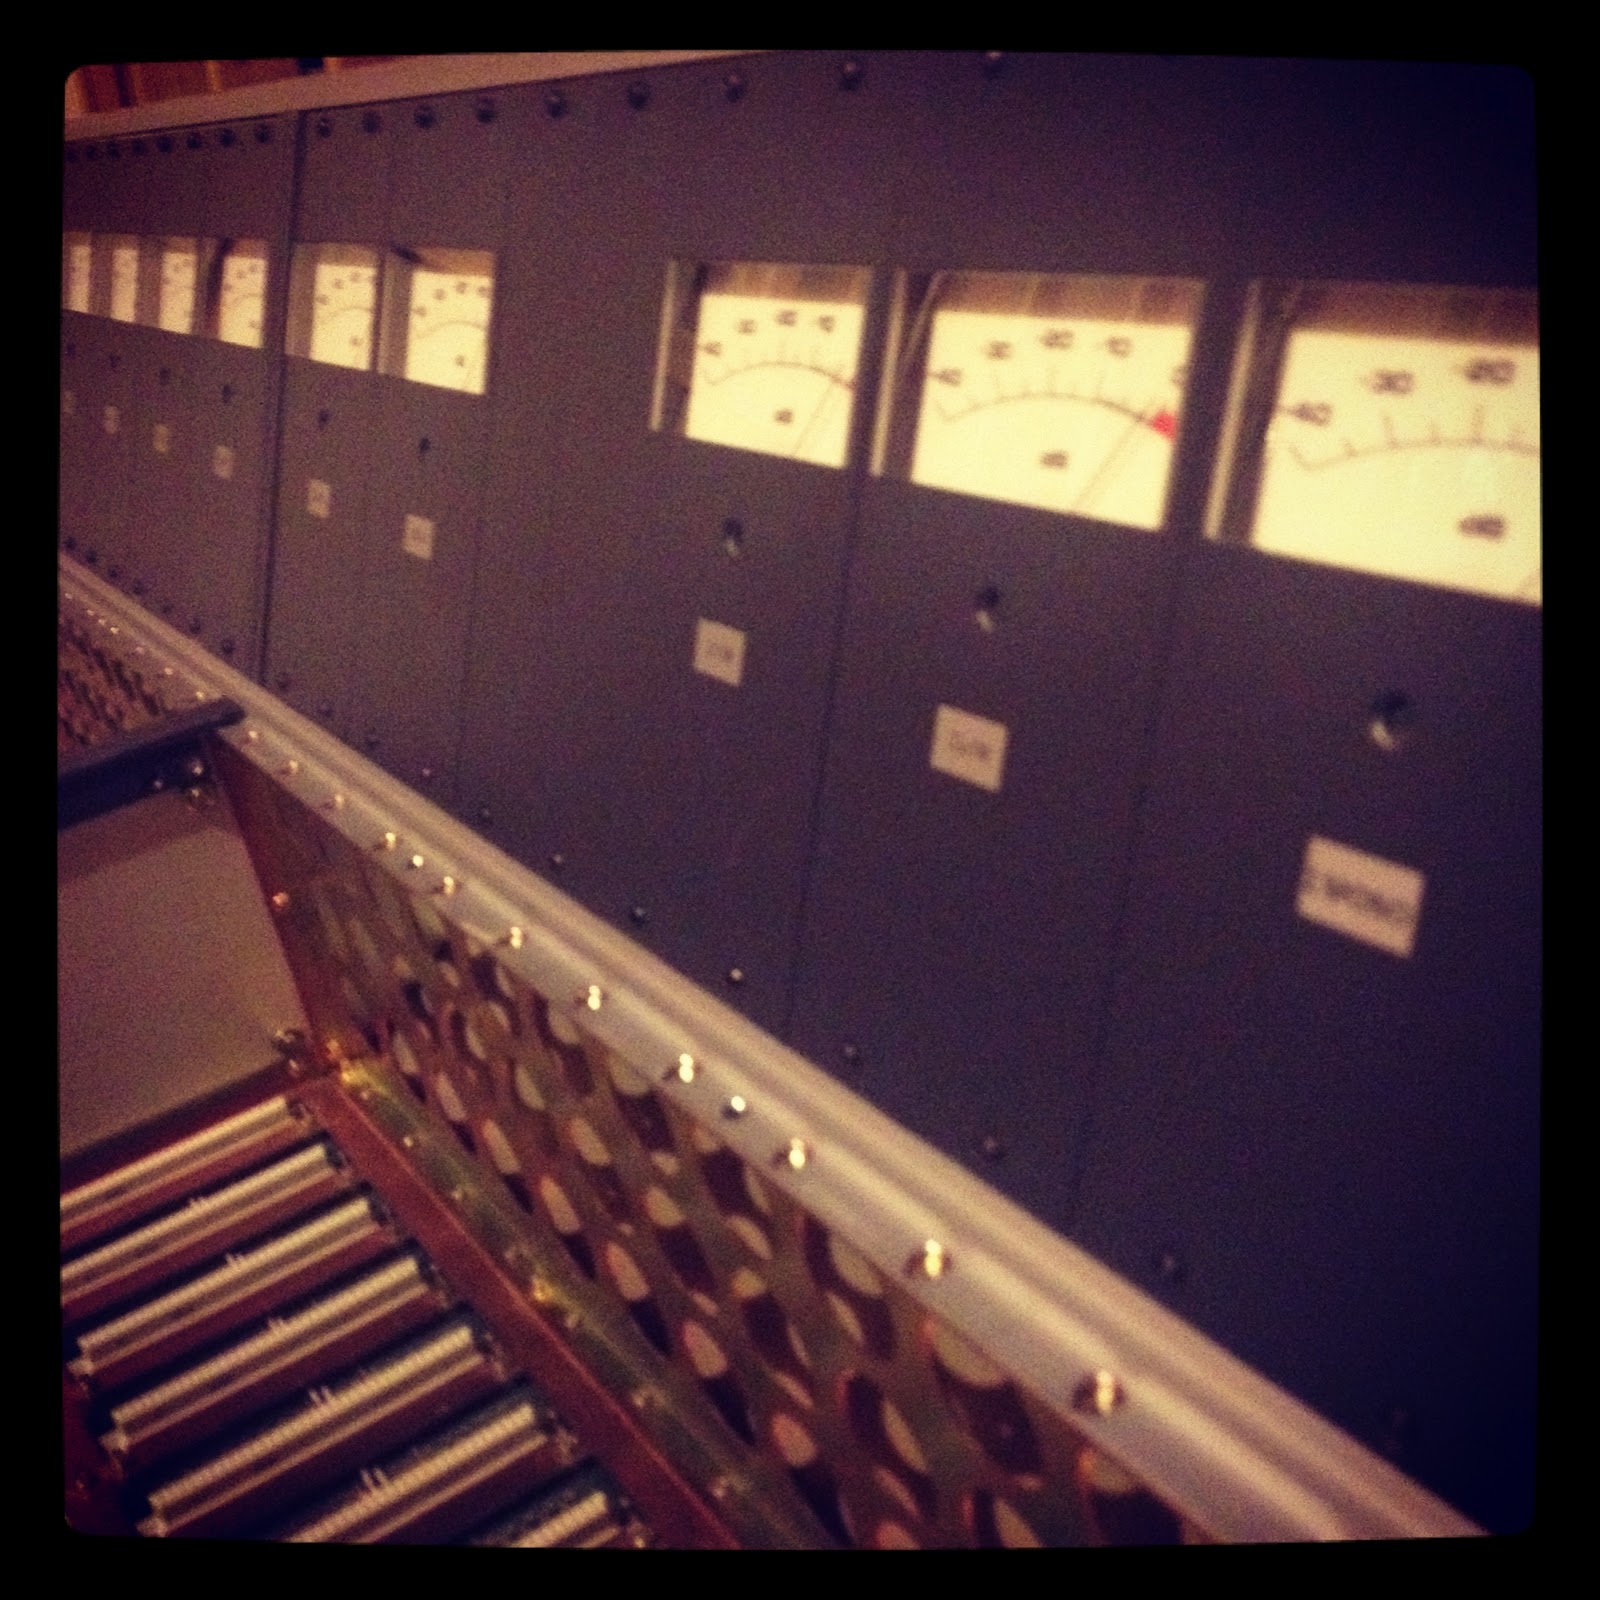
I didn't get a lot done this weekend as I drove to Montreal on Saturday to check out a piece of equipment. We are catching up with the console quickly, so I am going to spread console posts out a bit in the hopes that, when we get to the end of it on the blog, the 903A will be complete. This means that we will have a fun post today.

Last week, I was working on the EMT 140 trying to repair the amplifier. I had a fuse blow on me a couple of weeks ago and suspected that something might be wrong with it. What I came to find was that there was actually nothing fatally wrong at all! Just a weak fuse! After finding a suitable replacement (it is a weird radial fuse), I found that the plate still wasn't working. I started to probe around, and this happened:


Excuse my lack of enthusiasm. I thought it was awesome, but I was really, really exhausted.

I guess that the probe for my meter is the correct length to pick up a radio station. Since I was probing on the driving circuit, the radio signal was being driven into the plate which made it sound so creepy.
I ended up finding that a wire had broken (this is the second broken one I have found). After a quick solder job, she was working fine!
Tomorrow I'm going to be tensioning the plate. I'm not really sure how that's going to go... so wish me luck! I'm not sure if I'll post multiple tensionings of the plate (as I'm under a bit of a time crunch) but I will definitely post a before and after-tensioning clip.
Have a great week!

Thursday 24 November 2011

Studer 903A Restoration: Faders

I am averaging under 5 hours of sleep this week and 5.5 hours over the past month. Up for work at 7:30AM... then straight to the studio until 2AM... rinse and repeat. I don't think I have ever worked so hard at something before. It feels really good, but I am starting to crash.
Anyway, here's a little status update on the studio. I was hoping to be done for the end of the month... guess what? Not going to happen. Luckily, I left a month buffer for myself as I've been telling everyone to expect an opening in the new year. Even so, I'm getting a little nervous. I haven't mentioned this before, but I'm considering adding a large piece of equipment to the studio and I'm getting a bit concerned about running out of time. Since this weekend, I've been focusing on finishing the wiring. Mike is still working on fixing the patchbays to come out to the TASCAM dsub pinout and I am soldering xlrs, tuchel connectors, and fiddling with the console. As soon as I'm finished the console wiring, I'm going to spend a day or so getting the EMT140 finished and then it's console fixing time. Not really sure how I'm going to show you guys my console troubleshooting... maybe I'll have to vlog.

Well I promised faders today and faders there shall be. Excuse the lack of explanation. I've got to get out of here and back to work!

Monday 21 November 2011

Wiring Weekend - Summary


Well it is 1am on Sunday night. If you haven't figured it out already, I do these posts late at night and post them in the mornings. Well, today was a heck of a day! I needed to grab a warm milk before I even got to the computer tonight. For the record, I hate when warm milk gets a skin on it. It's so gross. I need to find a nice girl who likes warm-milk skin. Not sure why I'm typing this, though. I'm pretty sure that the only female that reads my blog is my mother. Oh well.
So, like I said, today was a big wiring day. I finally got all of the parts and cable that I needed and threw 'Ian's Family/friends Autumn Wiring Party'. We spent the entire day stripping, heatshrinking, and crimping new db25 connectors onto 8 channel snakes. I have to say, it went REALLY well. Due to some very detailed planning by yours truly over a few months, we had all of the information that we needed to get it done efficiently. It doesn't sound like much, but we finished the dsubs for ~36 8 channel cables (6 patchbays worth)! I got about 5 cables completely done by sneaking in some extra time to do some XLR soldering. I expect to be completely done in 2 days.
I really appreciate the help, everyone! A big thanks to Tara, Savannah, Ken, Mum, Dad, and Mike. Everyone seemed exhausted at the end of the day and I don't blame them. I think that they saved me weeks of work today and have kept me on track to have the studio operational in ~2 weeks.
I am exhausted and need some sleep. Here are some pictures from today.

Thursday 17 November 2011

EMT140 Restoration - Driver Positioning

Hello to all! Today you get a special treat. We are on the plate again! I took a couple of videos this week as I was working on the EMT140 and decided to share them with you today. Enjoy!

This may be a bad way to start, but I have bad news. I do not have any samples of the plate for you! The reason why? Well here's the story:
I called my good friend Dan over to play a little guitar and sing so that I would have some material to run through the plate before and after I tensioned it. After recording, I turned on the EMT140 and.... POPpppppsshshhhhhhh.... POPpppppshshssshhhhhh. Two reverby pops come from the outputs. Then, no signal. I quickly figured out that the microfuse in the power supply had blown. Why? I have no idea. This happened last night and I've been preparing for a small cable-making party on Sunday. I am hoping that I will be able to get to it very soon.


Monday 14 November 2011

Studer 903A Restoration: Other Meterbridge Modules

Brr! Is it just me or is it getting colder?! I had to make my first warm milk of the season to make it through this post. 
I have, of course, been busy at the studio since my last post. I have made a lot of progress on the console and it has got me really pumped up. Unfortunately for you guys, you won't get to see the pictures/video for a week or two, but it is worth the wait. 
Let's get this meterbridge over with, shall we?


Thursday 10 November 2011

Studer 903A Restoration: VU Meters

A little eye-candy...
You guessed it! Exhausted again, but I haven't worked on studio gear for TWO WHOLE DAYS! It feels like an eternity. On Tuesday, I was catching up with a friend at the studio and we ended up killing most of the night chatting and playing with a rhodes going into a space echo and listening back on a vintage 4x10 traynor cab/head (which was totally awesome). Tonight, I had some things to take care of at home and I tried to rest a bit as I think I'm coming down with this cold that everyone else seems to have. Lucky for you, I've got months of pictures/work to show you still!

I'm feeling pretty basic, so let's just cover the VU's today.


Monday 7 November 2011

Studer 903A - The Frame

Whew... I feel like my posts for the next few weeks are all going to start like this. I am exhausted! I have decided that I want the new studio up and running by December instead of January, so I have been spending a tonne of time working. With that said, I refuse to cop out and post half-hearted blogs. Luckily, I think that the next few posts are going to be a bit easier than the Studer 903A Eurocard series (those took an inordinate amount of time to do).


Like I mentioned in my last post/video, I am going to come back to the EMT140 when the parts I am waiting for have arrived. I've been jumping around a lot between the console, moving, and the plate reverb. Although I like the variety, it doesn't really speak to the art of continuity. Let's power through this console, shall we?


Finally, you get a good look at the actual body of the console. A beaut, isn't she?
As you can see in the picture, I had already removed all of the modules.

After going through the folder of pictures, I think that there are going to be a lot of images in this post. I was right; this should be an easy one!


Thursday 3 November 2011

Unpacking the EMT 140 Plate Reverb - A Vlog

Whew, It's been a heck of a week! Between work, the studio, and what little sleep I am able to find in between, I am absolutely exhausted. I've been working on the EMT 140 plate for the past 3 days, so I thought that I would vlog about it and include a couple of pictures that I have taken. To be quite honest, I'm too sleep-deprived to type a whole lot tonight.


Ready to open it up!

Monday 31 October 2011

Welcome to my New Studio!

Whew! What a day! The move was a great success. Since everything was well packed (self-pat-on-the-back) and I had an AMAZING moving team, the entire process was done in no time! With that said, I am absolutely exhausted and desperately need to get some sleep. I couldn't be more pleased with the space. There is still a tonne of work left to do, but at least the re-location is over with.


Observe my excellent parking skills as we grab the Studer A800 and EMT140 from my workplace.
I think I need some serious cred for this since it was before 9am on a Sunday.


Thursday 27 October 2011

Eurocards Part 3 - Audio Cards

Has this week ever gone quickly! Things have been pretty stressful with the move coming up, but I've really been looking forward to getting through the last of the eurocards with you all. I've been spending all of my time working and packing boxes. No sign of the amount of work to do letting up either! Oh well, let's get to it!

2 eurocards left to cover. They are pretty simple, so I don't think this post will be too long.

1.915.914.00 - 4 Bal. Amp 6dB
No before pics on this one. Check out the caps removed in the
top left hand corner though. The light blue caps aren't
aluminum electrolytic so there is no need to replace them.
4) 1.915.914.00 - 4 Bal. Amp 6dB (x3)
This card seems pretty self explanatory. As you can see, the board is divided into four duplicated quadrants. Before researching these modules, I had a bit of help with their function. On the door that opens up to the eurorack cards there are descriptions of the cards. The descriptions for the 3x 4 Bal. Amp 6dB cards are:


- GR 1-4
- GR 5-8
- ∑1+2 / ∑ M

Need I say more? 

Monday 24 October 2011

Eurocards Part 2 - Signalling and Switching... Then some big news!

A picture from a future part of the restoration
since this post is a little shy on visuals.
Happy Monday everyone! After promising that I would show you the rest of the eurocard modules today, I realized that there isn't a whole lot of restoration to look at (both in the amount of work done and the number of pictures taken... damn my photo organization - I don't know how this happened!). In any case, I thought that I would share some big news with you at the end of the blog to make up for the lack of wowza before/after pictures. Enjoy!


Thursday 20 October 2011

First you get the console... then you get the Power!

Time to get into it a bit! Some of the stages of this console restoration have happened simultaneously. For simplicity's sake, I will try to present everything in groups.

Eurocard bay with all of the modules removed.
After pulling all of the modules out of the console, the first thing to deal with on the console was the power supplies. Under the desk, there are two doors which open up to reveal all of the power supplies, some banks of relays, some balancing amplifiers, and a power amplifier. They are in a standard Eurocard format that is also used in some of Studer's tape machines like the a800 (hint of a future project?). In my experience, it is best to tackle the power supply before anything else because you can't do much if you have unreliable power.

Monday 17 October 2011

It begins...

As I said in my last post, I have lost a bunch of pictures that I had of moving the console to its current resting place. Over that time, I didn't do much with the console other than vacuum it out, wipe down the outside, and move it around (this thing is heavy!). I actually cleaned it three times because I kept finding so much dust. Not to worry... I did a COMPLETE clean later on and have lots of pictures. I just thought you would like to know that you haven't missed out on much.

So... let's introduce the newest project. A Studer 903A console. These were Studer's flagship console in the 80's. This one is a 24 channel, 8 bus, 3 mono aux (+ 1 stereo aux) version. It's an awesome quality desk (not surprising with the Studer name) and I was lucky to come across it. Mine seems to have a birthday of May 29, 1984. Three years older than I am!

I found the console on kijiji in London, Ontario and, after a few months, I decided to jump on it. The gentleman who sold it to me is Andy Magoffin (http://www.thetwominutemiracles.com/). He's an absolutely awesome guy and is currently building a new studio in Preston, Cambridge. The space is going to be incredible. It nearly killed us when we carried it out and put it in my van. I then started the long drive from London to Toronto on a cold evening in November, 2010. Hope your back is doing OK Andy! Thanks for the console!

Do you want the good news or the bad news first?

Sunday 16 October 2011

So many pictures... so little time!

Since many of the pictures before this point were lost, we will
have to start here. Don't worry... all you missed was cleaning
fist-sized dustballs out of it.
As my many, many blog fans may have noticed, I have been lacking in posting the promised pictures and updates of my gear restoration project. Never fear, I have not forgotten about you! Due to some computer/general life issues, it has been inconvenient for me to share the work that I have been doing with you. Especially since I have lost the pictures I took when I first got the Studer Console! DAMN!!!

Luckily, I have been taking many pictures over the past couple of months! Now it is time to share them with you. I'll be trying to post updates frequently. I've set up a schedule of MONDAYS and THURSDAYS at 10AM. Posts for this week are already prepared, so check back here Monday and Thursday mornings for updates!

Now onward to the gear!

Thursday 14 July 2011

Ward Beck T1202 Part 2

MOD TIME!
The console comes standard with connectors for 12 XLR mic inputs, 12 XLR line inputs (notated on the channel strip as the 'A' input), and 12 more mic and line inputs on 2 38 pin edac connectors. I decided that I would never use the 'B' inputs, so re-soldered the edge connectors to have an insert point before the fader. These would go to a normalled patchbay.

Ward Beck T1202 Part 1


The first piece of gear that I have documented. This is a copy of a post that I made on gearslutz last year. Enjoy!


Hello All.
A few months ago, I was lucky enough to encounter a Ward Beck T1202 broadcast console filled with 480C channel modules (this is the most modern 480C. Includes phantom power and pan). From the serial number, it seems that it was built in the mid 80s. 10 Discrete Class A preamps and a decent eq! How could I go wrong? I bought it on the spot. The owner of the store asked if I wanted him to go through it for me and get it in tip top shape for me. I answered 'No way! That's the fun part!'.

I've come quite a ways with this awesome little desk, so I thought I would share the process! I took as many pictures as I could, but they really don't do the justice of how heavily I went through this thing. Enjoy!


The console as I bought it! Doesn't look so bad does it? Well it wasn't too bad, but it was dirty, dusty, grungy, and needed some real TLC.

Welcome to my New Blog!

Hello audio gear enthusiasts! Thank you for checking out my new blog.
I've never thought of myself as a blogging kind of guy, but I have recently found great joy in sharing my adventures in restoring vintage pro audio gear. I currently have a lot of vintage gear that needs to be restored, so stay tuned!

Oh, and feel free to contact me if you have any questions about anything in this blog! Now on to the gear!